Bobbin Painting- a How To Guide

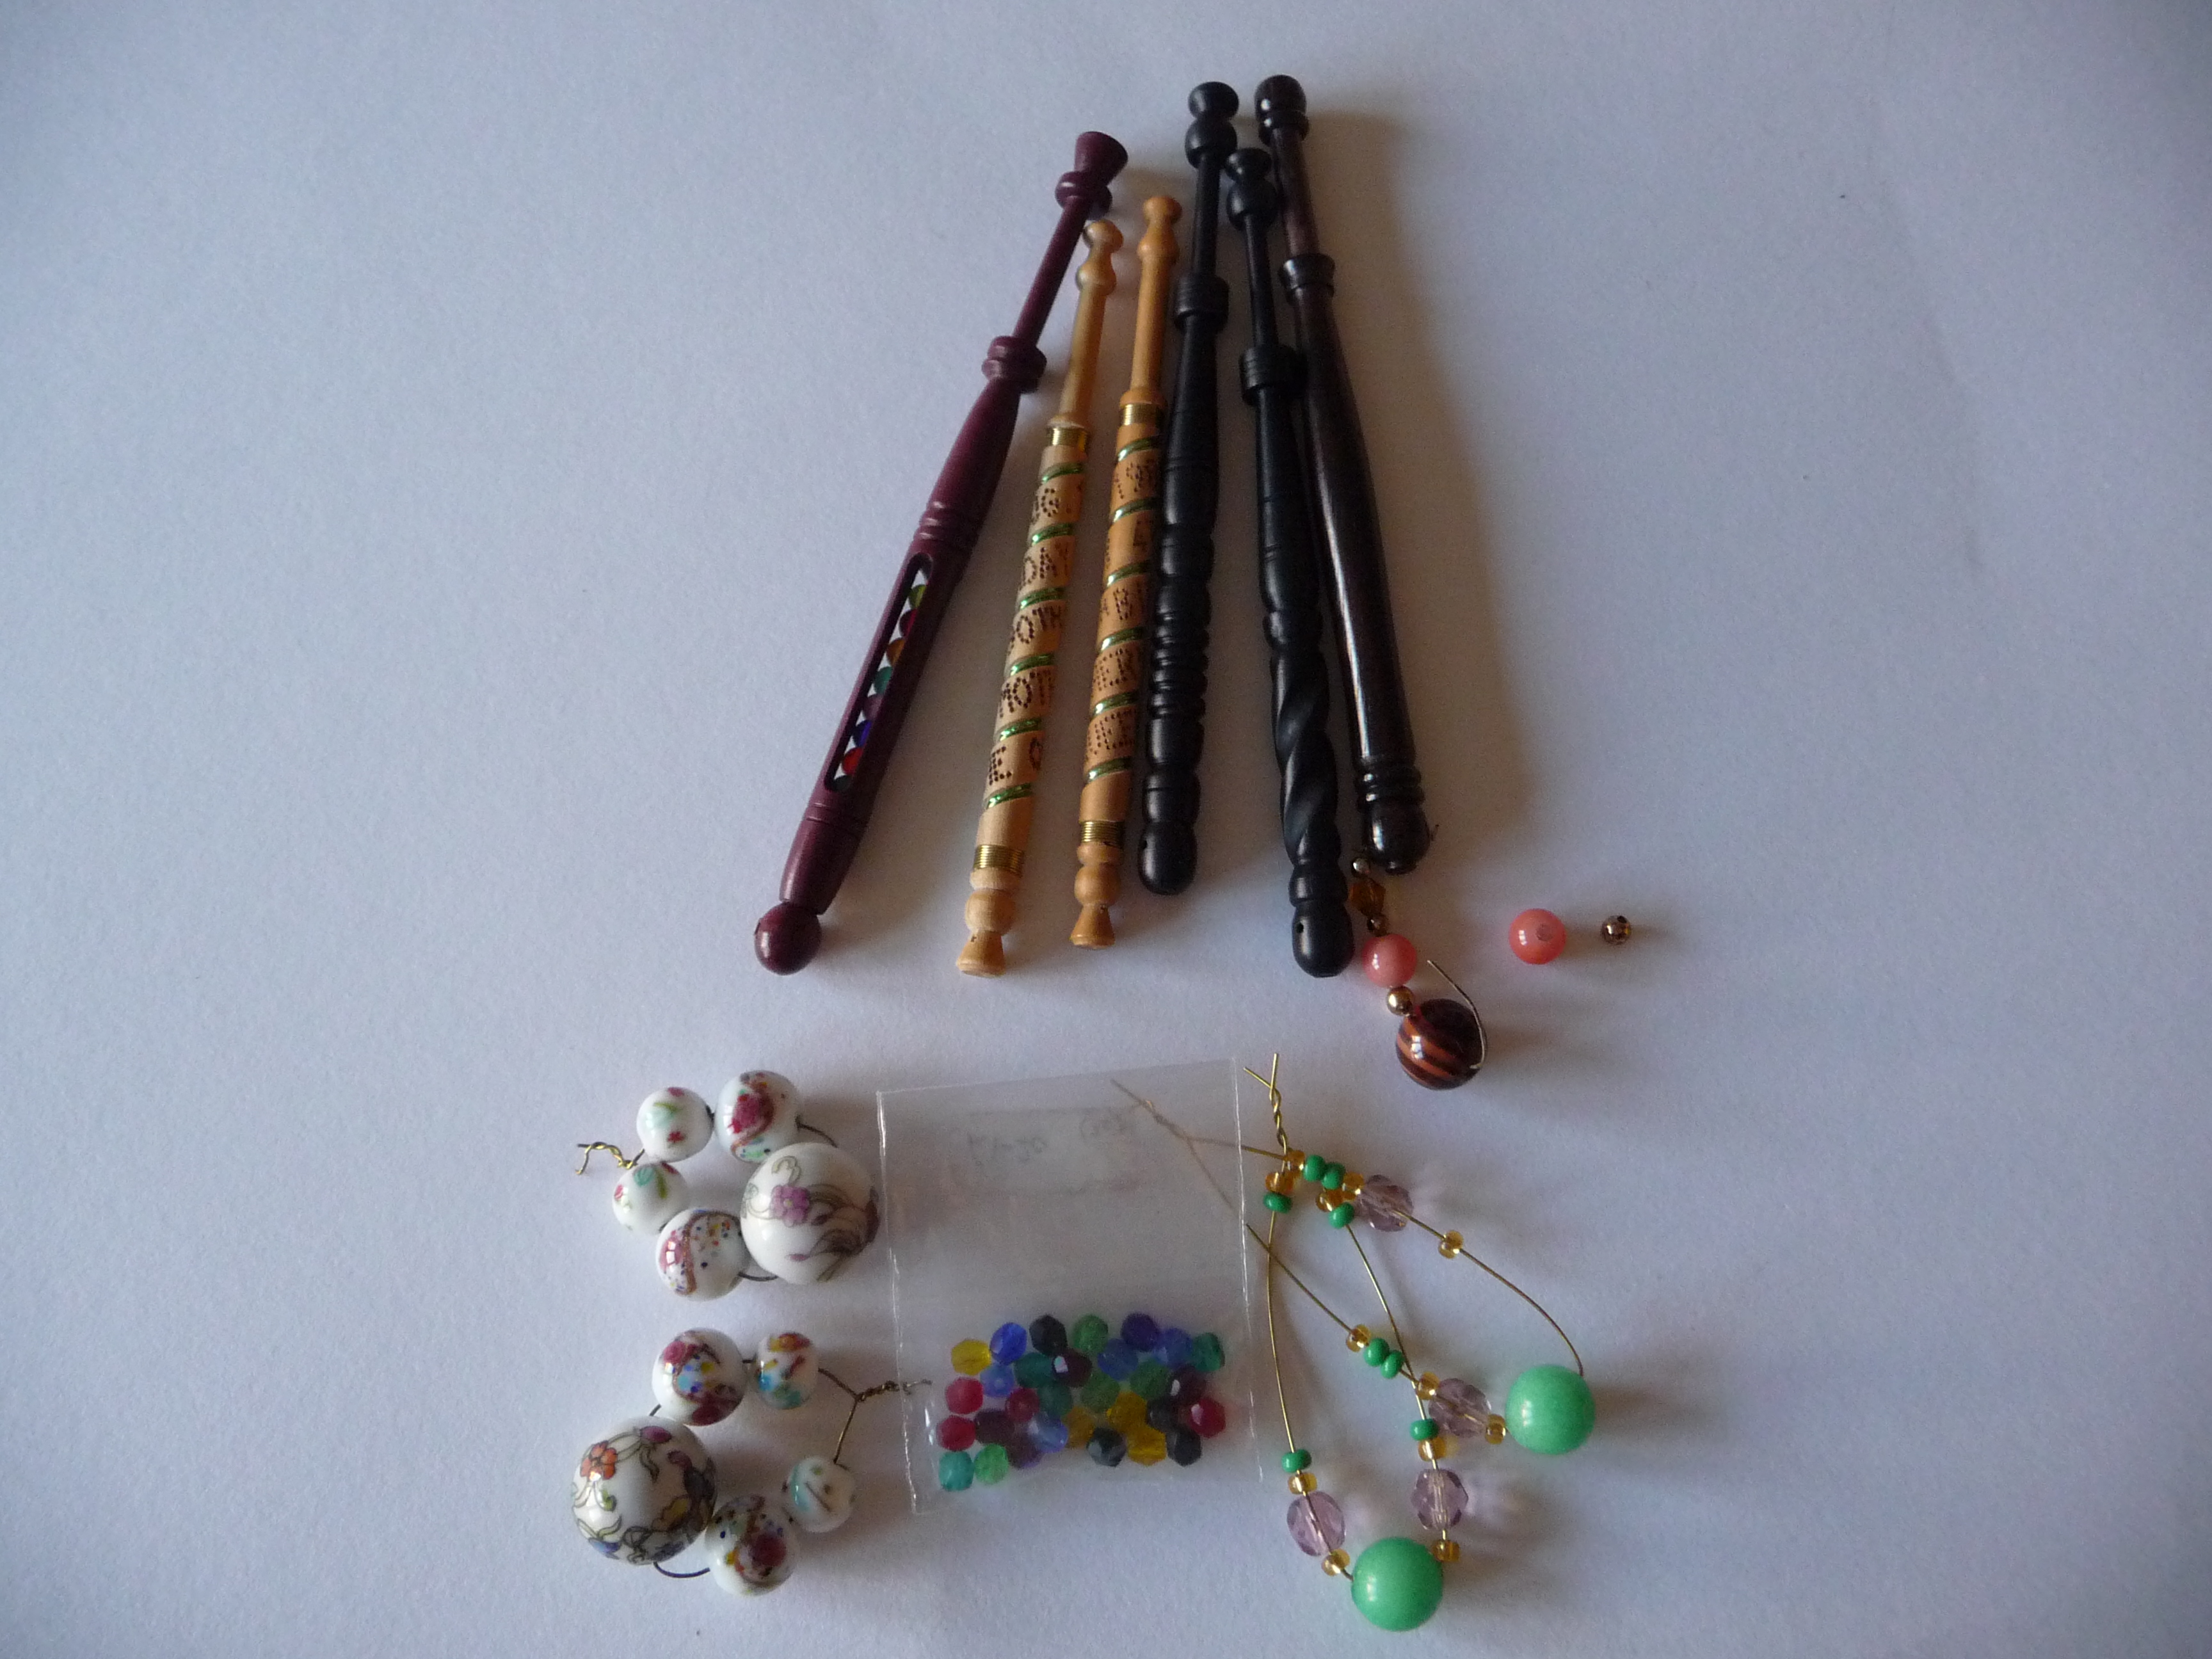
Whilst time to actually make lace has been squeezed of late, I have added to my collection of bobbins with a couple of commemoratives. Commemoratives are painted bobbins which celebrate or mark specific occasions, either personal or historic. I have quite a number now, but always get a Happy New Year one from Winslow Bobbins and have commemorated various personal milestones with a painted bobbin from the very talented Sarah Jones. The latest one was to celebrate the birth of my son and adds to the two she made me for the births of my daughters. They love looking for ‘their’ bobbins on my pillow.

P1110673

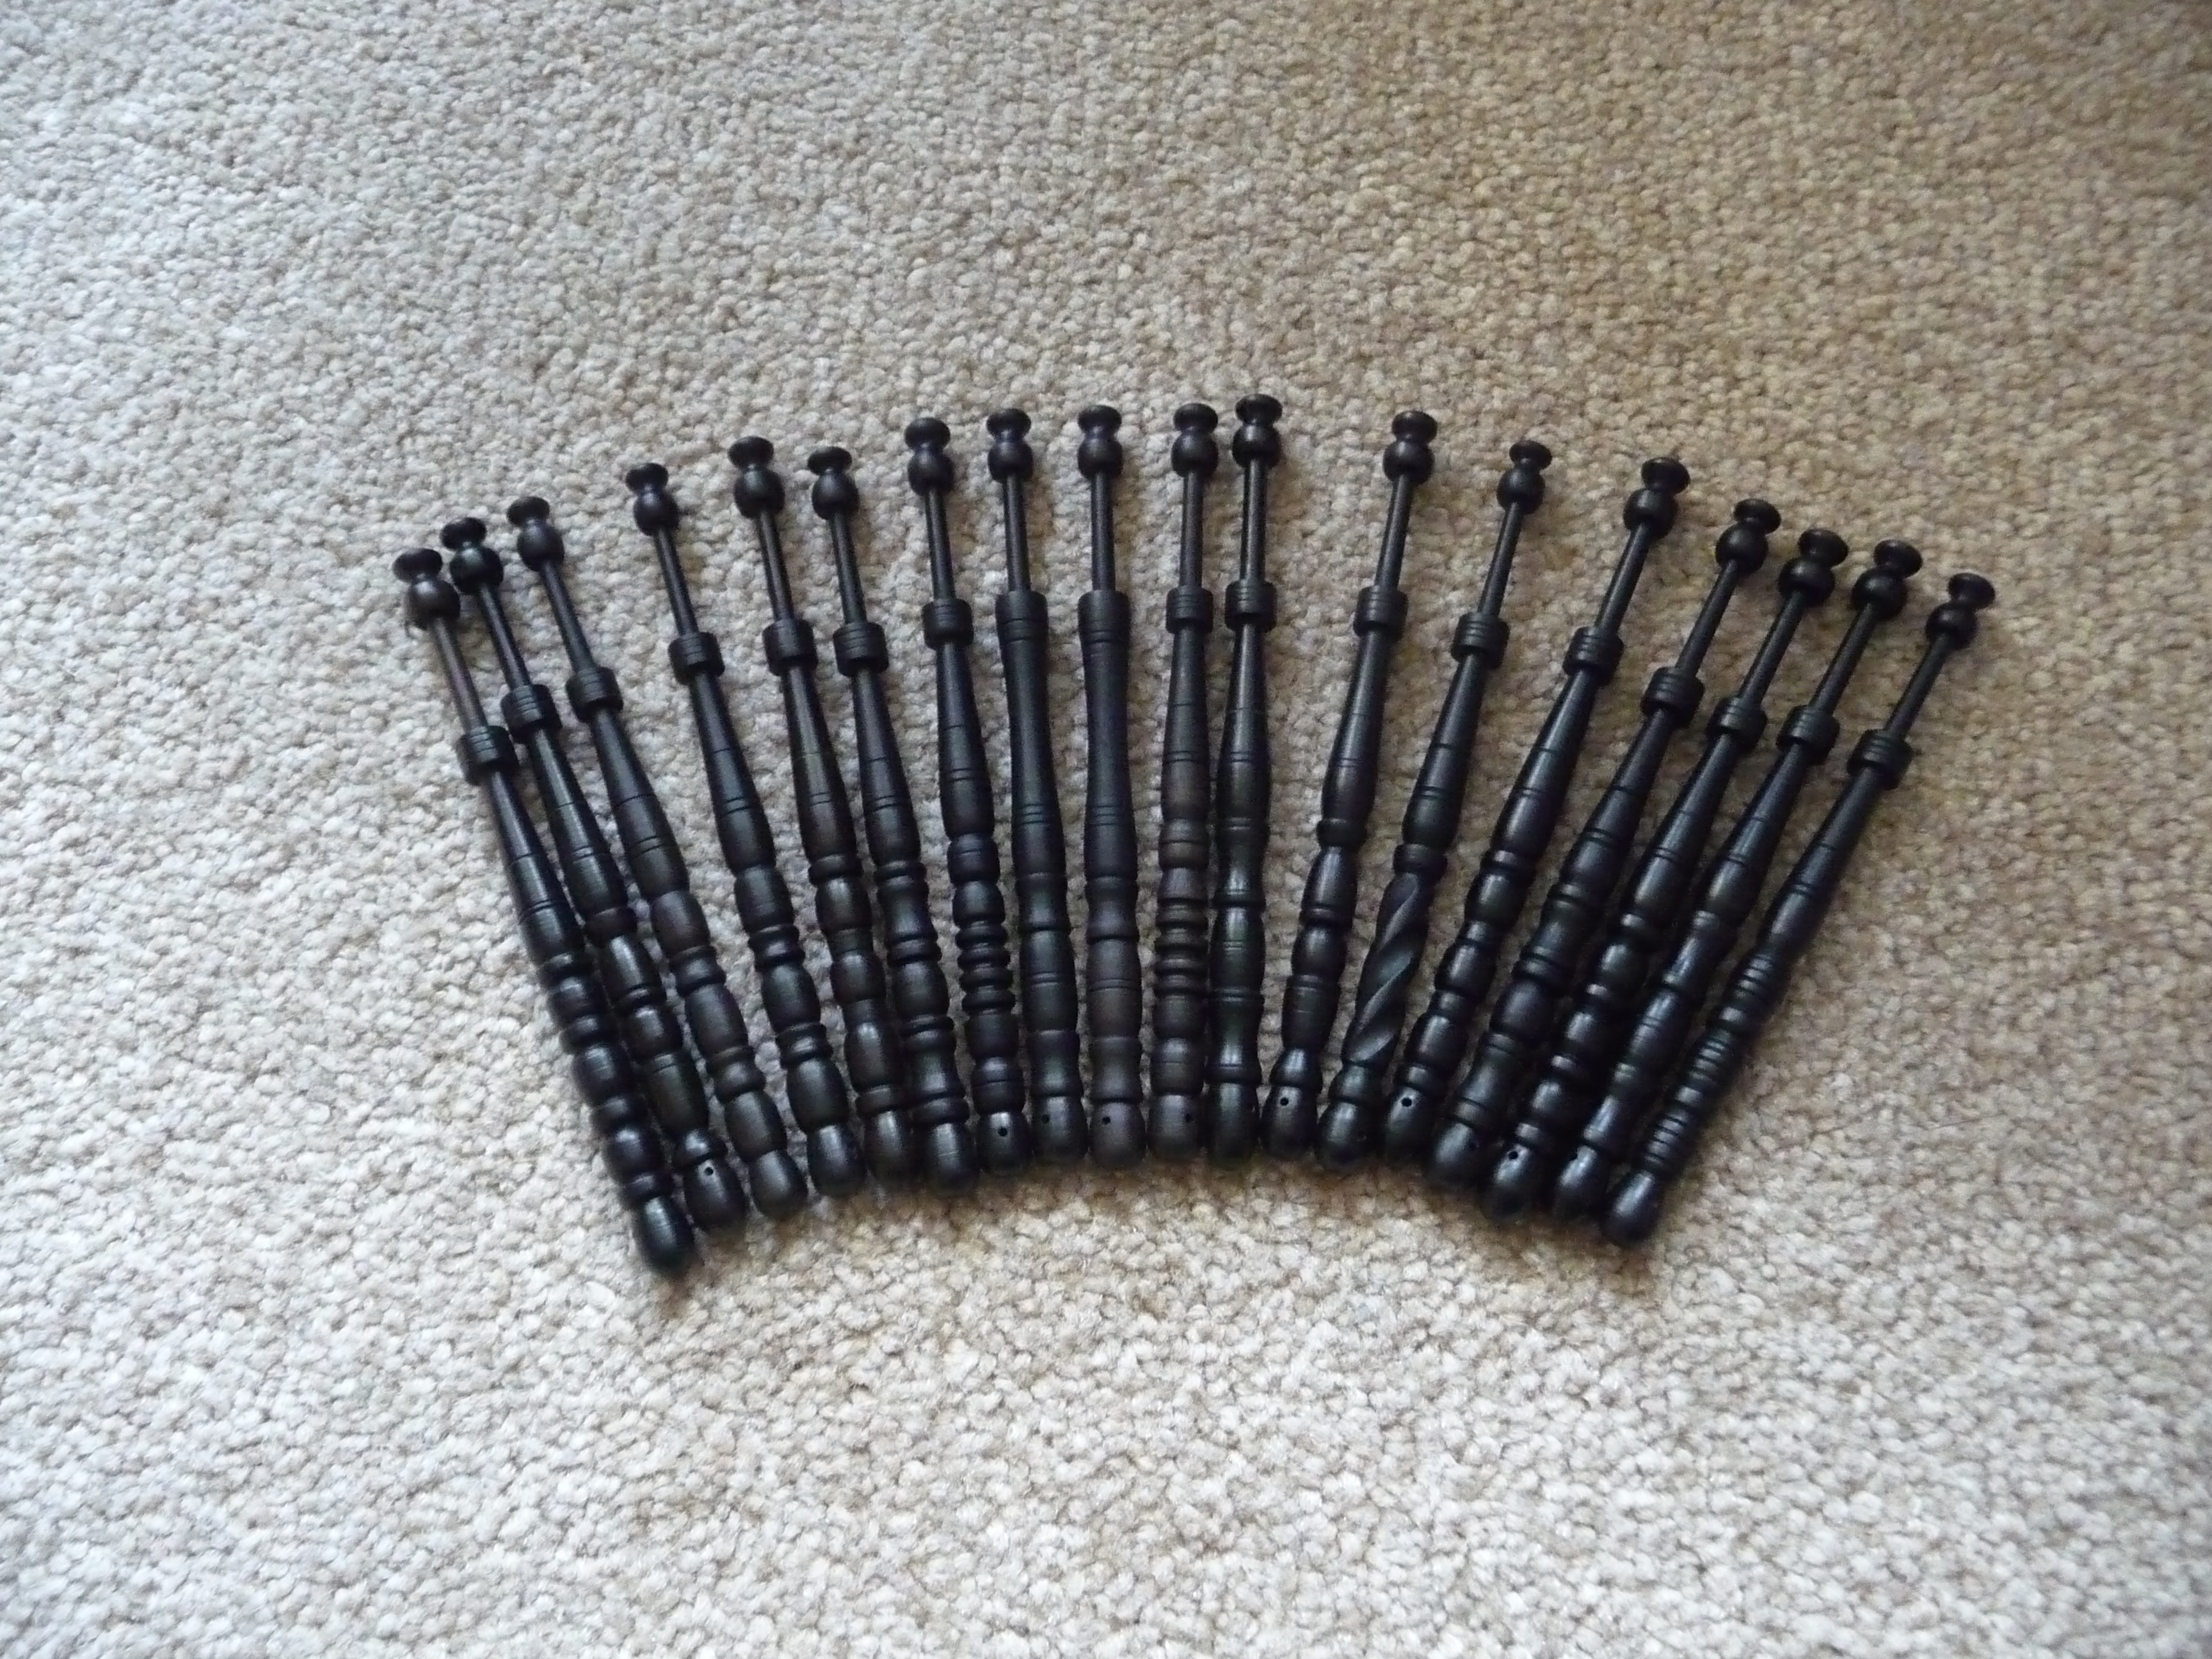
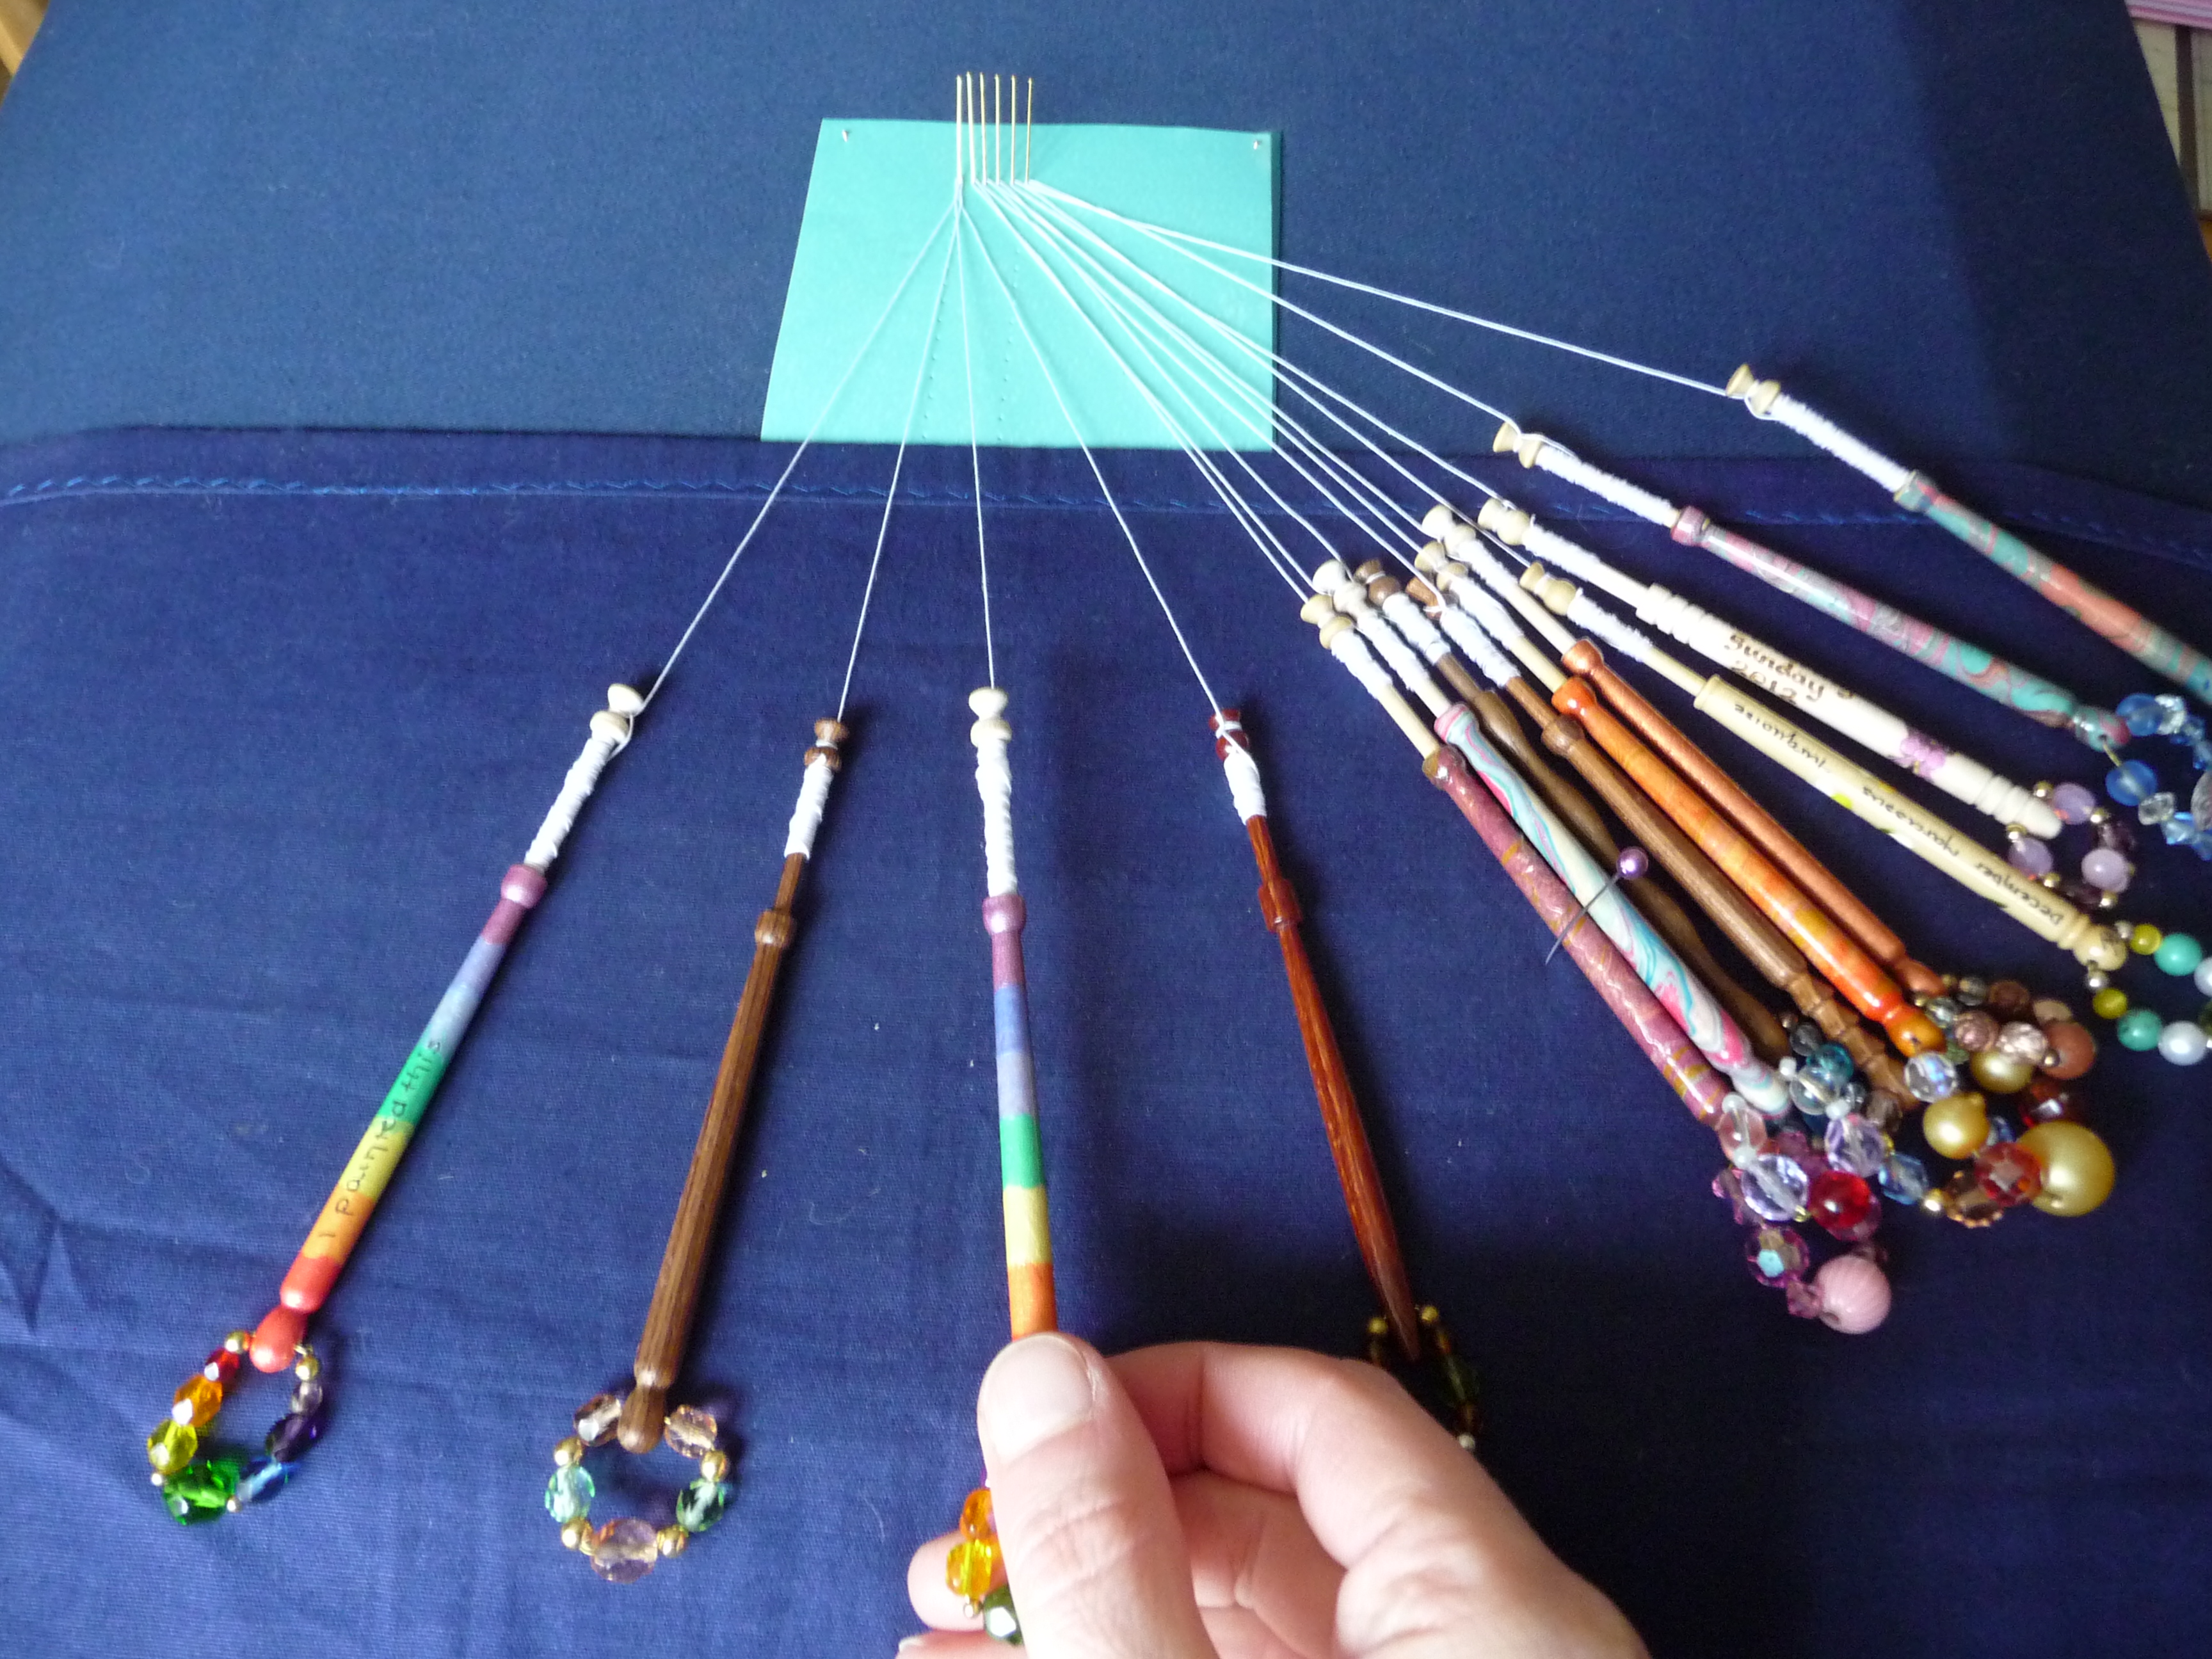
Having had a go once at painting bobbins I can completely appreciate Sarah’s talents, and those of anyone who paints bobbins. I took part in a bobbin painting workshop with Jacqui Southworth of Larkholme Lace a year or so ago, and whilst my creations are very, very far from being as good as hers, you may be more skilled in this area and get better results. The ones we did in the workshop were these rainbow ones:

P1100354

but you can do any design- some of the professionals out there do beautifully intricate designs- check out Sarah Jone’s gallery: http://www.paintedlacebobbins.co.uk/bobbins-gallery Chris Parson’s site: http://www.lace-bobbins.co.uk/bobbins.html and Lacewing designs http://www.lacewingdesigns.co.uk/Decorated%20Bobbins.htm to name but three.


So here’s a quick How To guide on painting bobbins. The instructions below are based on what I can remember from the workshop so my thanks and acknowledgement go to Jacqui.

What will you need:

  • A wooden, plain, unpolished bobbin (you can buy these for around 50p each online or in packs of ten)                                      P1110678
  • Some acrylic paint
  • A fine paintbrush                                P1110677
  • A paper plate
  • Some kitchen roll
  • Some water
  • Some varnish e.g. Rustins Plastic Coating
  • A fine-tipped permanent black pen (if you want to write a message or initial it)
  • A steady hand
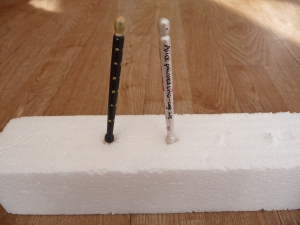
  • A piece of polystyrene (or an equivalent if you can’t abide the stuff) to hold your painted bobbin whilst it dries


What to do:

  1. Check that the bobbin is free from fluff, grease or anything else.
  2. Choose your base colour or design and prepare your paint. Dampen the kitchen roll and put it on top of the paper plate. Squirt a few blobs of the paint on (the dampened kitchen roll prevents it from drying out) and mix the colours you want. You hardly need any paint so be sparing!
  3. Get painting!
  4. Put the bobbin upside down in the polystyrene until it has dried (it shouldn’t take too long)                                                    P1110679
  5. Add any message or initials
  6. Paint on a layer of varnish. Leave to dry. Then repeat- you’ll probably need around 3-4 coats.
  7. Spangle the bobbin (if needed)
  8. Admire, then put it to use. Bobbins are working tools not museum pieces 🙂 P1100382

Let me know if you try this and how you get on. I’ll definitely try it again but will leave it to the professionals to decorate bobbins to commemorate the milestones in my life!

Spring cleaning

Having finished a few UFOs and repair/alteration jobs over the weekend, I took some time to do a bit of spring cleaning. My sewing area was looking really messy so I’ve given everything a good tidy up, sorted all my boxes and drawers, collected up a whole load of bits of threads from the floor and even oiled my sewing machine (this rarely happens although I’m aware you’re encouraged to do it regularly- really?!? Does anyone else do this, or is it just me….?)

P1090971

Sewing table with labels

I found so many little bits and pieces tucked away which I’d forgotten I had and it also made room for the bundle of new notions I got from my Secret Santa at work. I sorted my cupboard too to make room for some lovely new things, including these fabrics which my husband brought back from a recent trip to India

P1090946

Aren’t they lovely for summer? I’m totally thinking of finding a tunic/dress pattern so I can use the circles fabric to make a tunic like this Boden one.

I was on a roll by this point so my Honiton cover cloths (which <cough> have never been hemmed in the five years I’ve had them), were finally done which took all of about two minutes, then I washed and pressed all my cover cloths, re-wound some Honiton bobbins ready for the next project and got rid of all my bent pins. I still have a whole heap of English bobbins which need re-spangling but that will have to wait for another day!

P1090977

So things are now looking much tidier and more importantly I know what I’ve got and I know where it all is. All ready now to start a new lace piece, and finish a quilt which I first started back in 2008 but then the girls came along and it’s just sat there unloved and unfinished for all that time. But isn’t it just so satisfying (finally) getting things done?

‘Cat’ching up…

I didn’t get much chance to do any lace last weekend as we had family staying, bonfire parties and by Sunday evening I had a massive headache so I know if I picked the lace up I’d end up unpicking more than I actually got done (or doing ‘reverse stitch’ as it’s more commonly known ;-)).

I did however have chance to visit my old lace teacher, Lorna, on Friday. She’s been making lace since the 1970s and was even lucky enough to do her PhD on lace-making. Over the years she has amassed a large collection of lace making equipment, books and resources and as she doesn’t need them all anymore, has been passing a few things to me as she knows I will use them, keep them and pass them on to other lace makers in the future. One of the things I’m hoping to do next year is start teaching after-school lace classes at my daughters’ school, so any extra equipment will be put to good use.

She very generously gave me her Honiton bobbins back in the summer as she won’t be using them anymore, which all have this distinctive ‘N’ on the end, signifying that they were made by a Mr Norman, down in Devon who apparently no longer makes bobbins.

P1090507

This time, she had found some ebony bobbins she’s had for many years but had never used or spangled and wanted to pass them on to someone who may use them.

P1090516

I haven’t yet done anything with them but think they deserve some beautiful beads so will be looking out for some spangles at the next North West Lacemakers meeting in December, when Jo and Ash Firth are the suppliers.

On the way home I stopped in Uppermill and browsing in Tow Path books found an old lace book I didn’t have called Lace in the Making with bobbins and needle by Margaret L. Brooke, originally published in 1923. I’ve often found lace books in there- there must be a seam of them coming from somewhere! I haven’t yet read it all but this extract did make me laugh:

P1090518

especially seeing as when I was taking the photos for this post, I had a furry helper!

P1090506