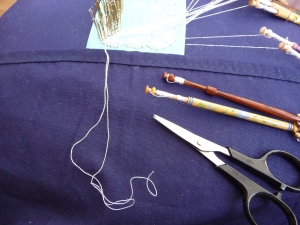
When you’re finishing a piece of lace where the ends are joined to each other such as an edging or garter (for instructions on how to do this see this tutorial), you’ll need to do something with all those loose threads. It’s tempting to just snip them off but you’ll get a far better result by sewing the ends in- sewn ends lie flatter and are less noticeable. If you’re mounting the lace on a piece of fabric there isn’t any need to sew in- I’ll cover how to do this in another post. For now, here’s how to sew your ends in:
1. Before you start ensure your hands are clean- you’ll be handling the lace a lot and don’t want to get it grubby.
2. Unwind a few inches of thread from each bobbin and cut the bobbins off.
3. Once all the bobbins have been cut off carefully remove all the pins from the lace, using a pin lifter if you have one to save your fingernails. Lift the lace from the pillow.
4. Working from one edge of the lace to the other, thread a standard sewing needle with one of the threads and carefully stitch it into the lace, weaving up and down for a centimetre or so then snip it as close as you can to the lace. It is easier to ‘lose’ threads in areas of whole stitch. Alternate which direction you go with the threads to avoid clumpy patches- sometimes the reef knot wants to lie a certain way so go with that flow. If the cut end pokes out a bit, carefully trim it further until it is hidden. It won’t unravel, I promise! Do this for all the threads.
Take your time over sewing in and you’ll get a better result. Don’t be too heavy handed or the work will stretch. Good luck!


Pingback: New lace making tutorial- sewing threads in | Cattern Lace